It is a late spring here in Ontario. Everyone knows it. But when I consult our journal it is interesting to see that on this day in 2002 we woke up to wet snow falling. And then on April 28 in 2003 the thermometer hit 21C. In 2006 we and some helping friends planted 250 trees in the field to the accompaniment of bright sun, swarming black flies and blooming daffodils. All to say that weather in this shoulder season can be anything from snow to blazing sunshine. And there's no point in making plans in advance or having any expectations.
With the prediction of rain later today and the possibility of snow tomorrow, Scylla and I decided to do a walkabout of the property. Railway Creek as it flows under Cooper Road is swollen and running fast.
 |
| The culvert on the east side of the road |
 |
| The west side, where there are still remnants of a beaver dam Grant and his son dismantled last fall |
 |
| Railway Creek as it runs past our field, swollen and submerging the trembling aspens in water |
In the garden there are just a few signs of colour; the earliest bulbs, the perennial vegetables and members of the Allium family - bulbs themselves.
 |
| A small clump of winter aconite which I am so happy to see since it comes from my mother's garden |
 |
| Scilla Siberica and its more modest cousin with the exotic name, Scilla Mischtschenkoana |
 |
| Emerging rhubarb |
 |
| French sorrel |
 |
| Garlic |
 |
| Spring onions |
We decided to continue our walk further afield heading for the woods.
 |
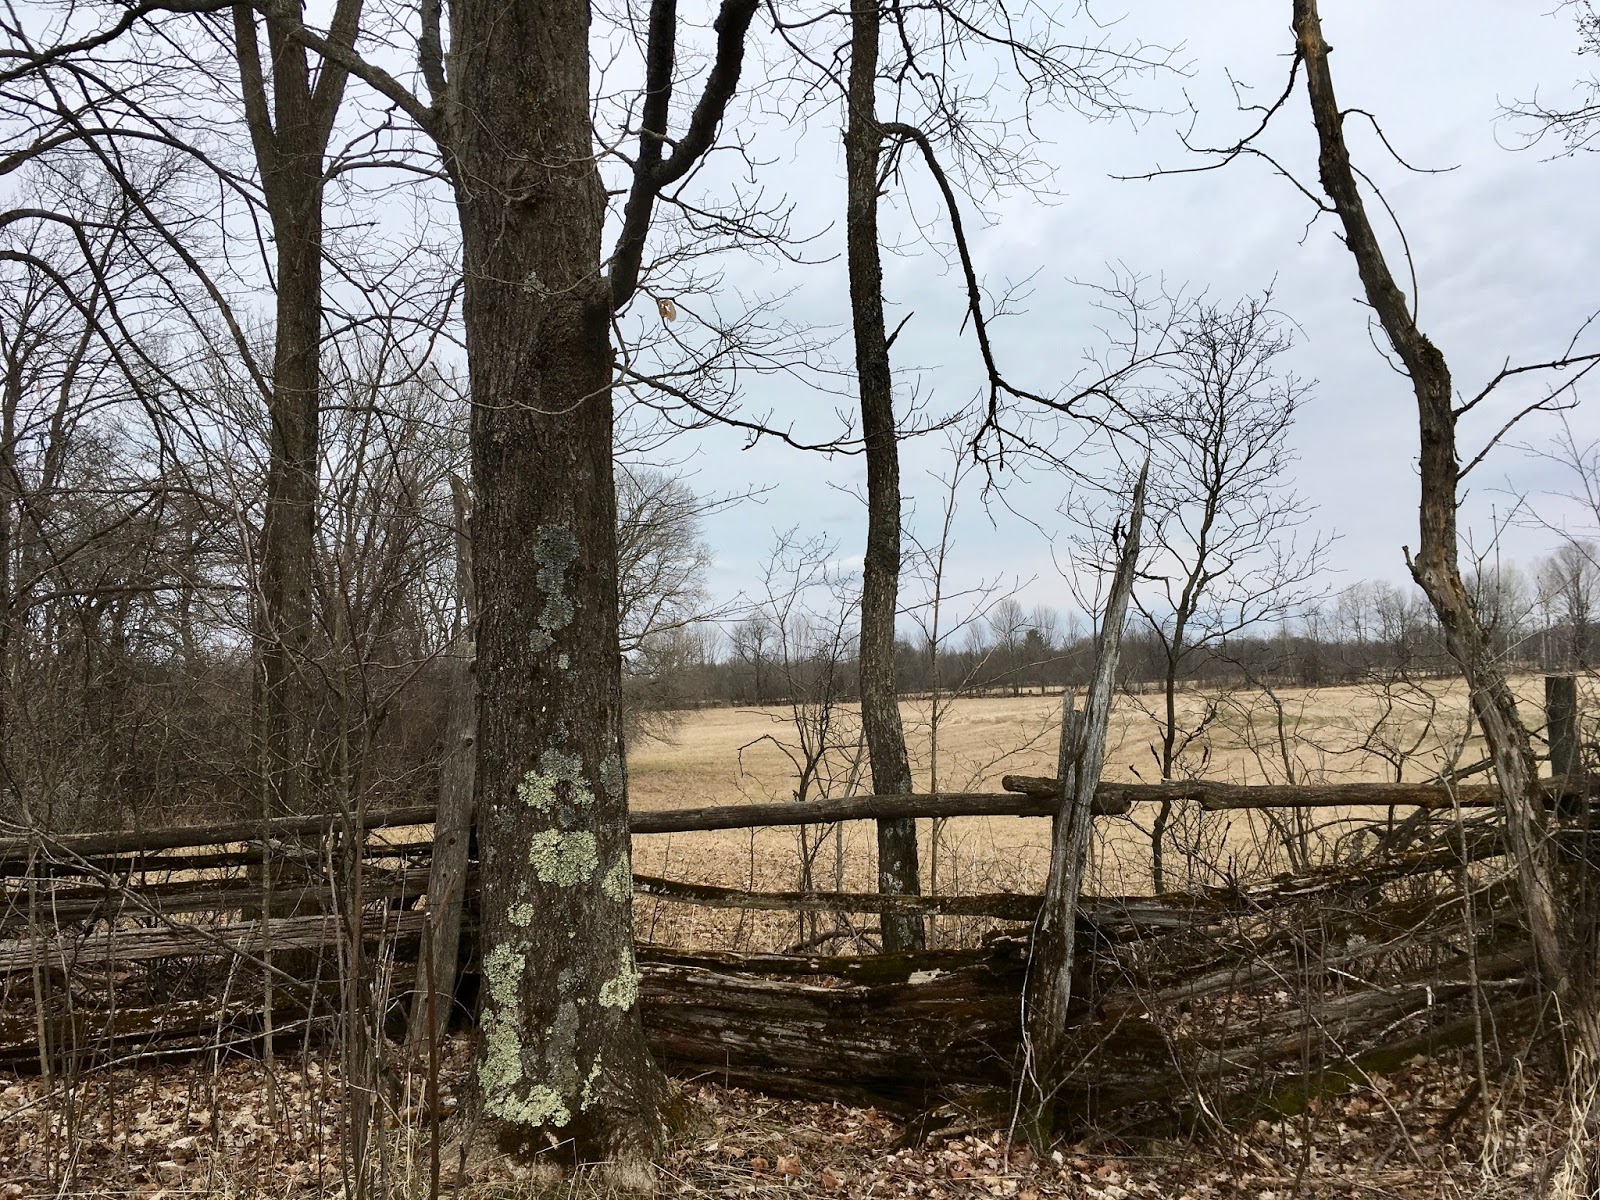
| Crossing the old cedar split rail fence into our neighbour's field |
 |
| Water pooling in low lying areas |
Continuing on our usual route we meet our first obstacle at the second fence. On the other side the path is completely submerged - another low-lying area, although it always felt more like the top of an incline to me...so we continue along the fence looking for a drier part of the field
 |
| Our usual crossing place would land us in a pool of water |
 |
| Despite its dull appearance this dry pasture is clearly greener! |
At this time of year it can feel like little is happening and there is not much to see. But when I bring a camera it seems to encourage me to look a little closer. That keener eye is always rewarded.
As we continued through the field I saw a tree which appeared to have its bark gouged out by huge, or at least determined, claws. A sabre toothed tiger?? Or perhaps one of these creatures
https://news.nationalgeographic.com/2015/12/151226-animals-dinosaurs-claws-ancient-science-paleontology/
 |
| The trunk genuinely looks gouged - with great enthusiasm if not a lot of skill - reminiscent of my well intended but ultimately ill-fated attempts at making a wooden spoon in a wood carving course I took with my friend Nancy.... |
 |
| Wood chips at the base of the trunk |
 |
| The ragged stripping of the trunk |
 |
| And as I walked past it on the way home I saw the crown had broken off |
In the hemlock and birch woods I see a birch tree which is growing atop a stump - its roots, like the claws of a diamond ring, reaching around the stump to the humusy earth below. Having seen that first tree it seems there are innumerable examples of the same phenomenon.
 |
| The birch seedling almost looks suspended above the ground |
 |
| Here's one whose rather tenuous roots were wrenched out of the ground |
 |
| A matching pair on the bank of a little creek |
 |
| A much better anchored yellow birch with its peeling bark and white birches in the background |
There are big voluptuously coloured fungi,
dead trees being reinvented as apartment towers
and tree stumps festooned with moss and fungi and peeling bark that look sculptural.
In addition to just having a look around generally, Scylla and I are interested in finding signs of ramps and spring ephemerals so we carry on.
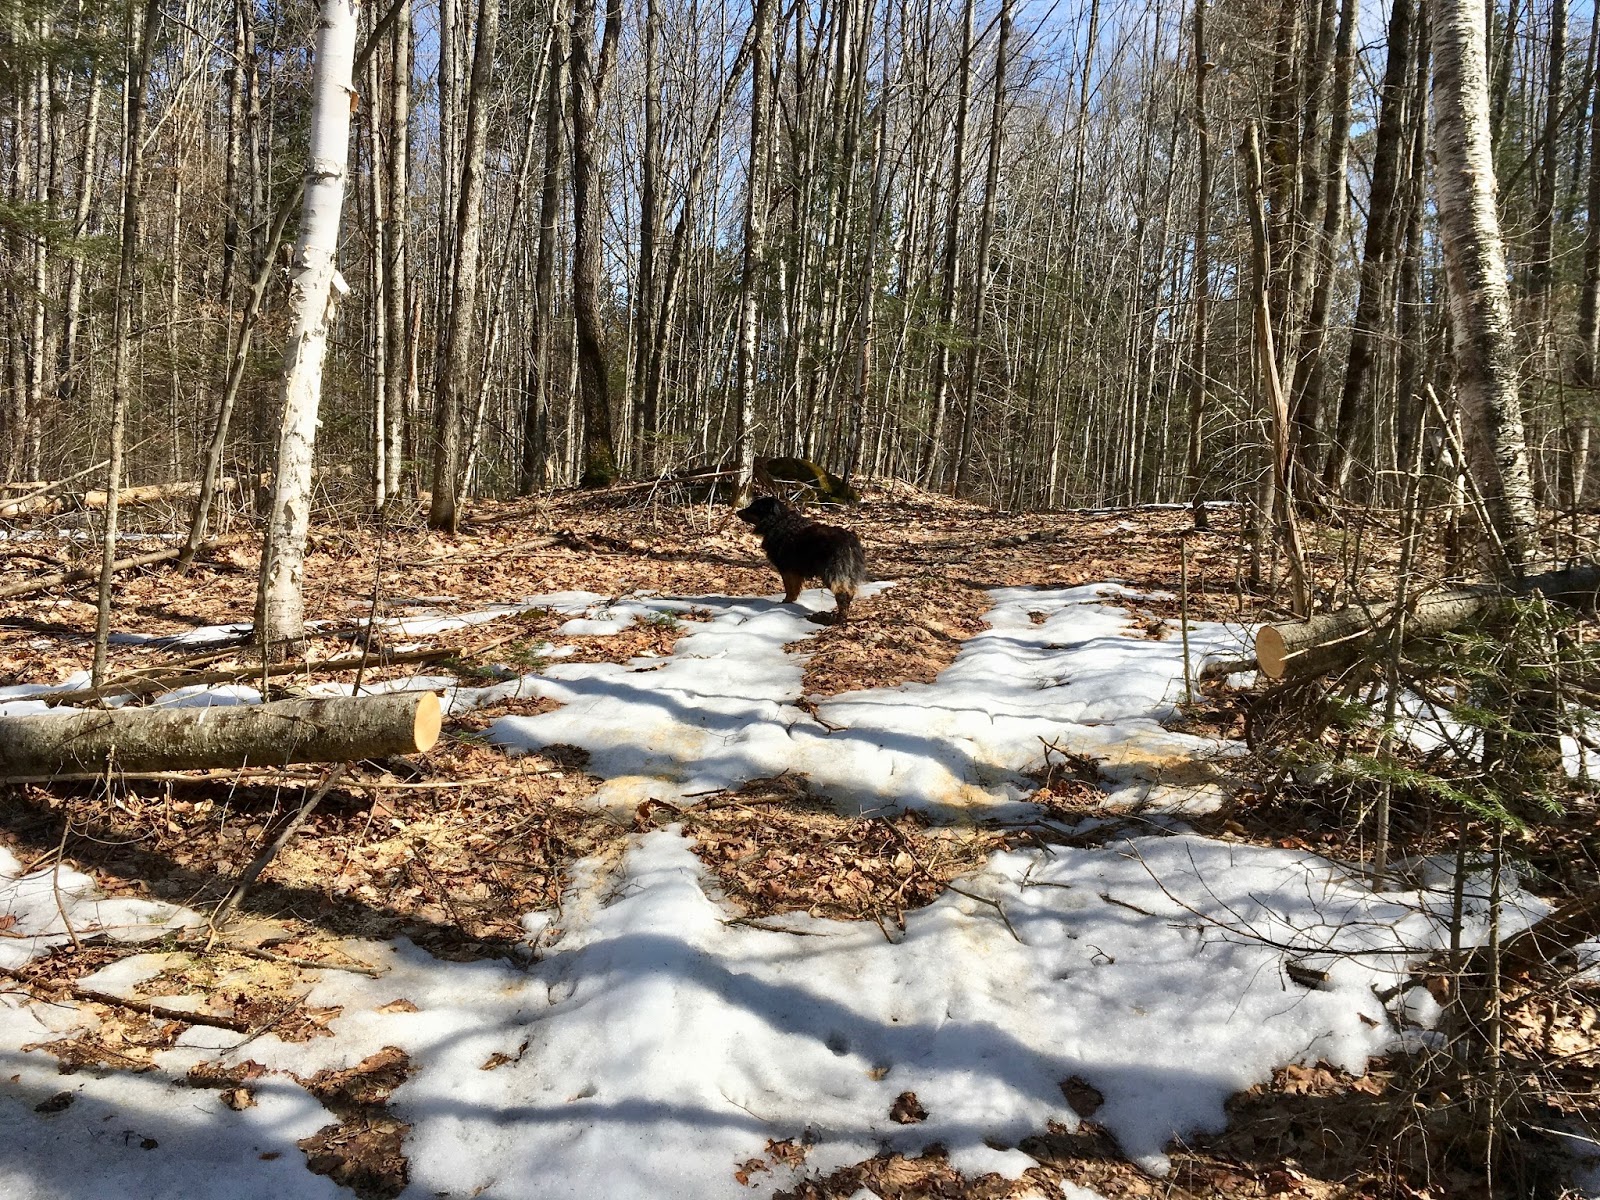
The path in the woods is very mucky and there are even a few areas where the track is still filled with ice.
Forging ahead bravely we are soon rewarded with hillsides of ramps. They look so healthy this year - dark green leaves and wine red sheafs covering the base of the stems. And they're so plentiful! In a week or two when the bulbs have plumped up a little there will be some great foraging.
 |
| A beautiful clump of ramps (or wild leeks) |
 |
| Ramps always grow in clumps and particularly enjoy snuggling in rock outcroppings |
 |
| The outer skin that gets peeled off in food preparation is a lovely complementary red |
 |
| Yes I am happy. Last year there were so few ramps that I missed spotting them and had to spend hours feeding myself to the black flies while I found a few to reward my troubles |
As for spring ephemerals they, like us, know it is a late spring. No sign of any except a few newly emerging yellow adder's tongue. They like areas of the path that are open to the sun. Known more formally as Erythronium americanum, they are also called trout lily or yellow dog toothed violet. But I will always use my mother's name for them - yellow adder's tongue- so much more exciting.
 |
| Yellow adder's tongue just pushing through the leaf litter |
 |
| The speckled leaves inspire their other name - yellow trout lily |
Having completed our fact finding mission we decide to head back. Scylla, ever the homebody, always takes the lead, stopping every twenty feet or so to make sure her errant mistress is still following.
 |
| "Water, water everywhere and nary a drop to drink" says Scylla, who is fond of paraphrasing Coleridge |
 |
| A surreptitious glance behind before continuing on |
This part of Railway Creek, upstream from our property, seems to be draining a little as it sends all the water down our way.
Once back on our property we see a tamarack, planted in that burst of enthusiasm in 2006, seems to be under a similar siege as the tree we saw earlier. Except from an animal smaller than a sabre-soother tiger - say an armadillo or even a bird....
https://news.nationalgeographic.com/2015/09/150912-animals-science-largest-claws-talons/
 |
| The poor tamarack with so much of its bark stripped away |
 |
| Again the tell tale chips at the base of the tree |
 |
| This gouging seems much more methodical, less frenzied. I bet this culprit could make a great wooden spoon... |
Back on safer territory we see that Christopher's civilizing paths are looking good, bringing order to a somewhat wild and chaotic spring awakening.